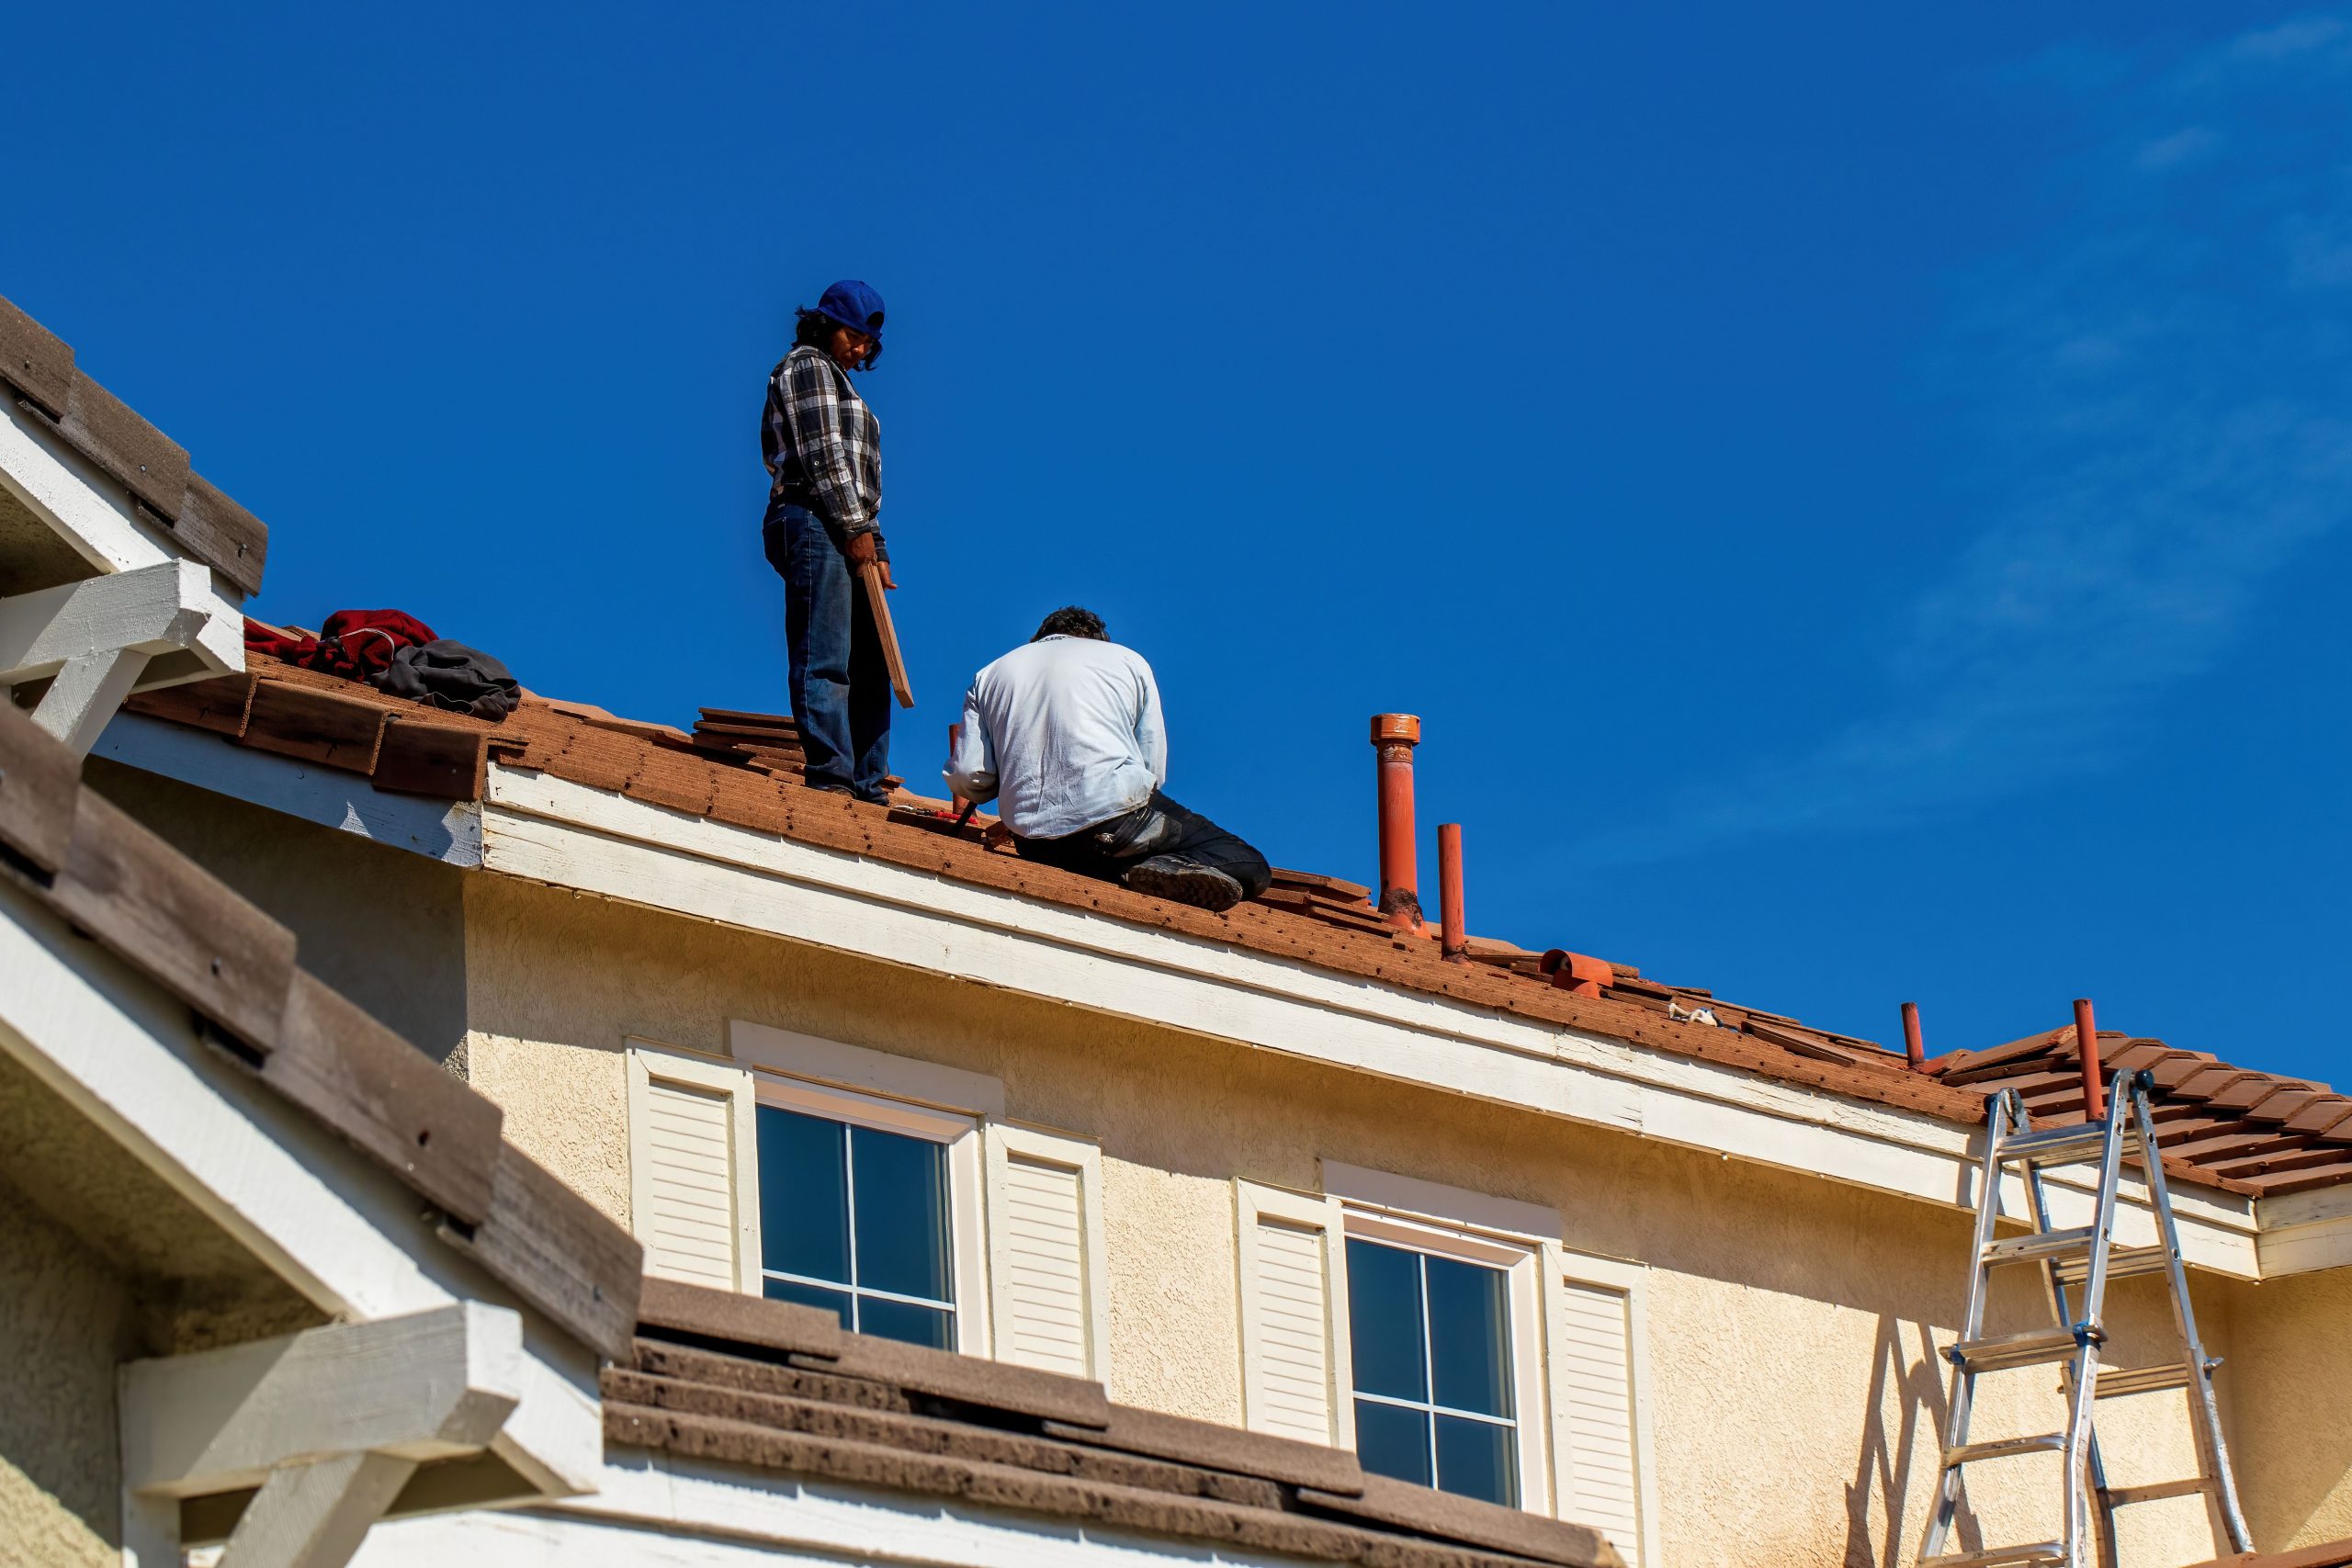
Roof Storm Damage Checklist: What to Inspect After Bad Weather

Key Takeaways
- Check your property for fallen branches, damaged power lines, and other safety hazards before inspecting your roof.
- Look for missing shingles, damaged flashing, loose gutters, and roof debris that may indicate storm damage.
- Inspect the attic, ceilings, and upper walls for water stains, wet insulation, leaks, and signs of mold.
- Examine siding, windows, and roof edges for damage caused by strong winds, heavy rain, hail, or flying debris.
- Photograph visible damage, record repair expenses, and contact your insurance company if you plan to file a claim.
- Consult a qualified roofing contractor to determine whether localized repairs or a full roof replacement is necessary.
- Prevent future problems with regular roof inspections, clean gutters, trimmed tree branches, and prompt repairs.
Severe weather can leave your roof with damage that is easy to spot or problems that remain hidden until water enters your home. Strong winds can loosen shingles, hail can crack roofing materials, and heavy rain can expose weak spots around vents, chimneys, and roof edges. Even a storm that lasts only a few hours can lead to costly repairs if the damage goes unnoticed.
After bad weather, knowing what to inspect can help you protect your home and address problems before they get worse. However, roof inspections must be done carefully. Climbing onto a wet, damaged, or unstable roof can lead to serious injuries. In most cases, you can identify early warning signs from the ground and inside your home before calling a roofing professional for a closer assessment.
This checklist covers the main areas to inspect after a storm, how to recognize possible damage, and what steps to take next. By following these tips, you can respond quickly, document problems, and make informed decisions about repairs.
1. Check Your Property for Immediate Safety Hazards
Before inspecting your roof, make sure the area around your home is safe. Storms can leave fallen branches, broken glass, loose building materials, and damaged power lines near the house. These hazards should be addressed before you begin checking for roof damage.
Look around your yard and driveway for large tree limbs, debris, or roofing pieces that may have blown off. If you see a downed power line, stay far away and contact the utility company or emergency services. Never touch a fallen wire or assume it is safe because it appears inactive.
Pay attention to signs that the house may be unstable. A visibly sagging roof, shifted exterior wall, or damaged section of the building may require urgent professional attention. Keep people away from these areas until they have been assessed.
Do not climb a ladder or walk on the roof immediately after a storm. Wet surfaces, loose shingles, and hidden structural damage can make the roof dangerous even if it looks intact. Wait until conditions are safe, and leave elevated inspections to trained professionals.
2. Look for Missing, Loose, or Damaged Shingles
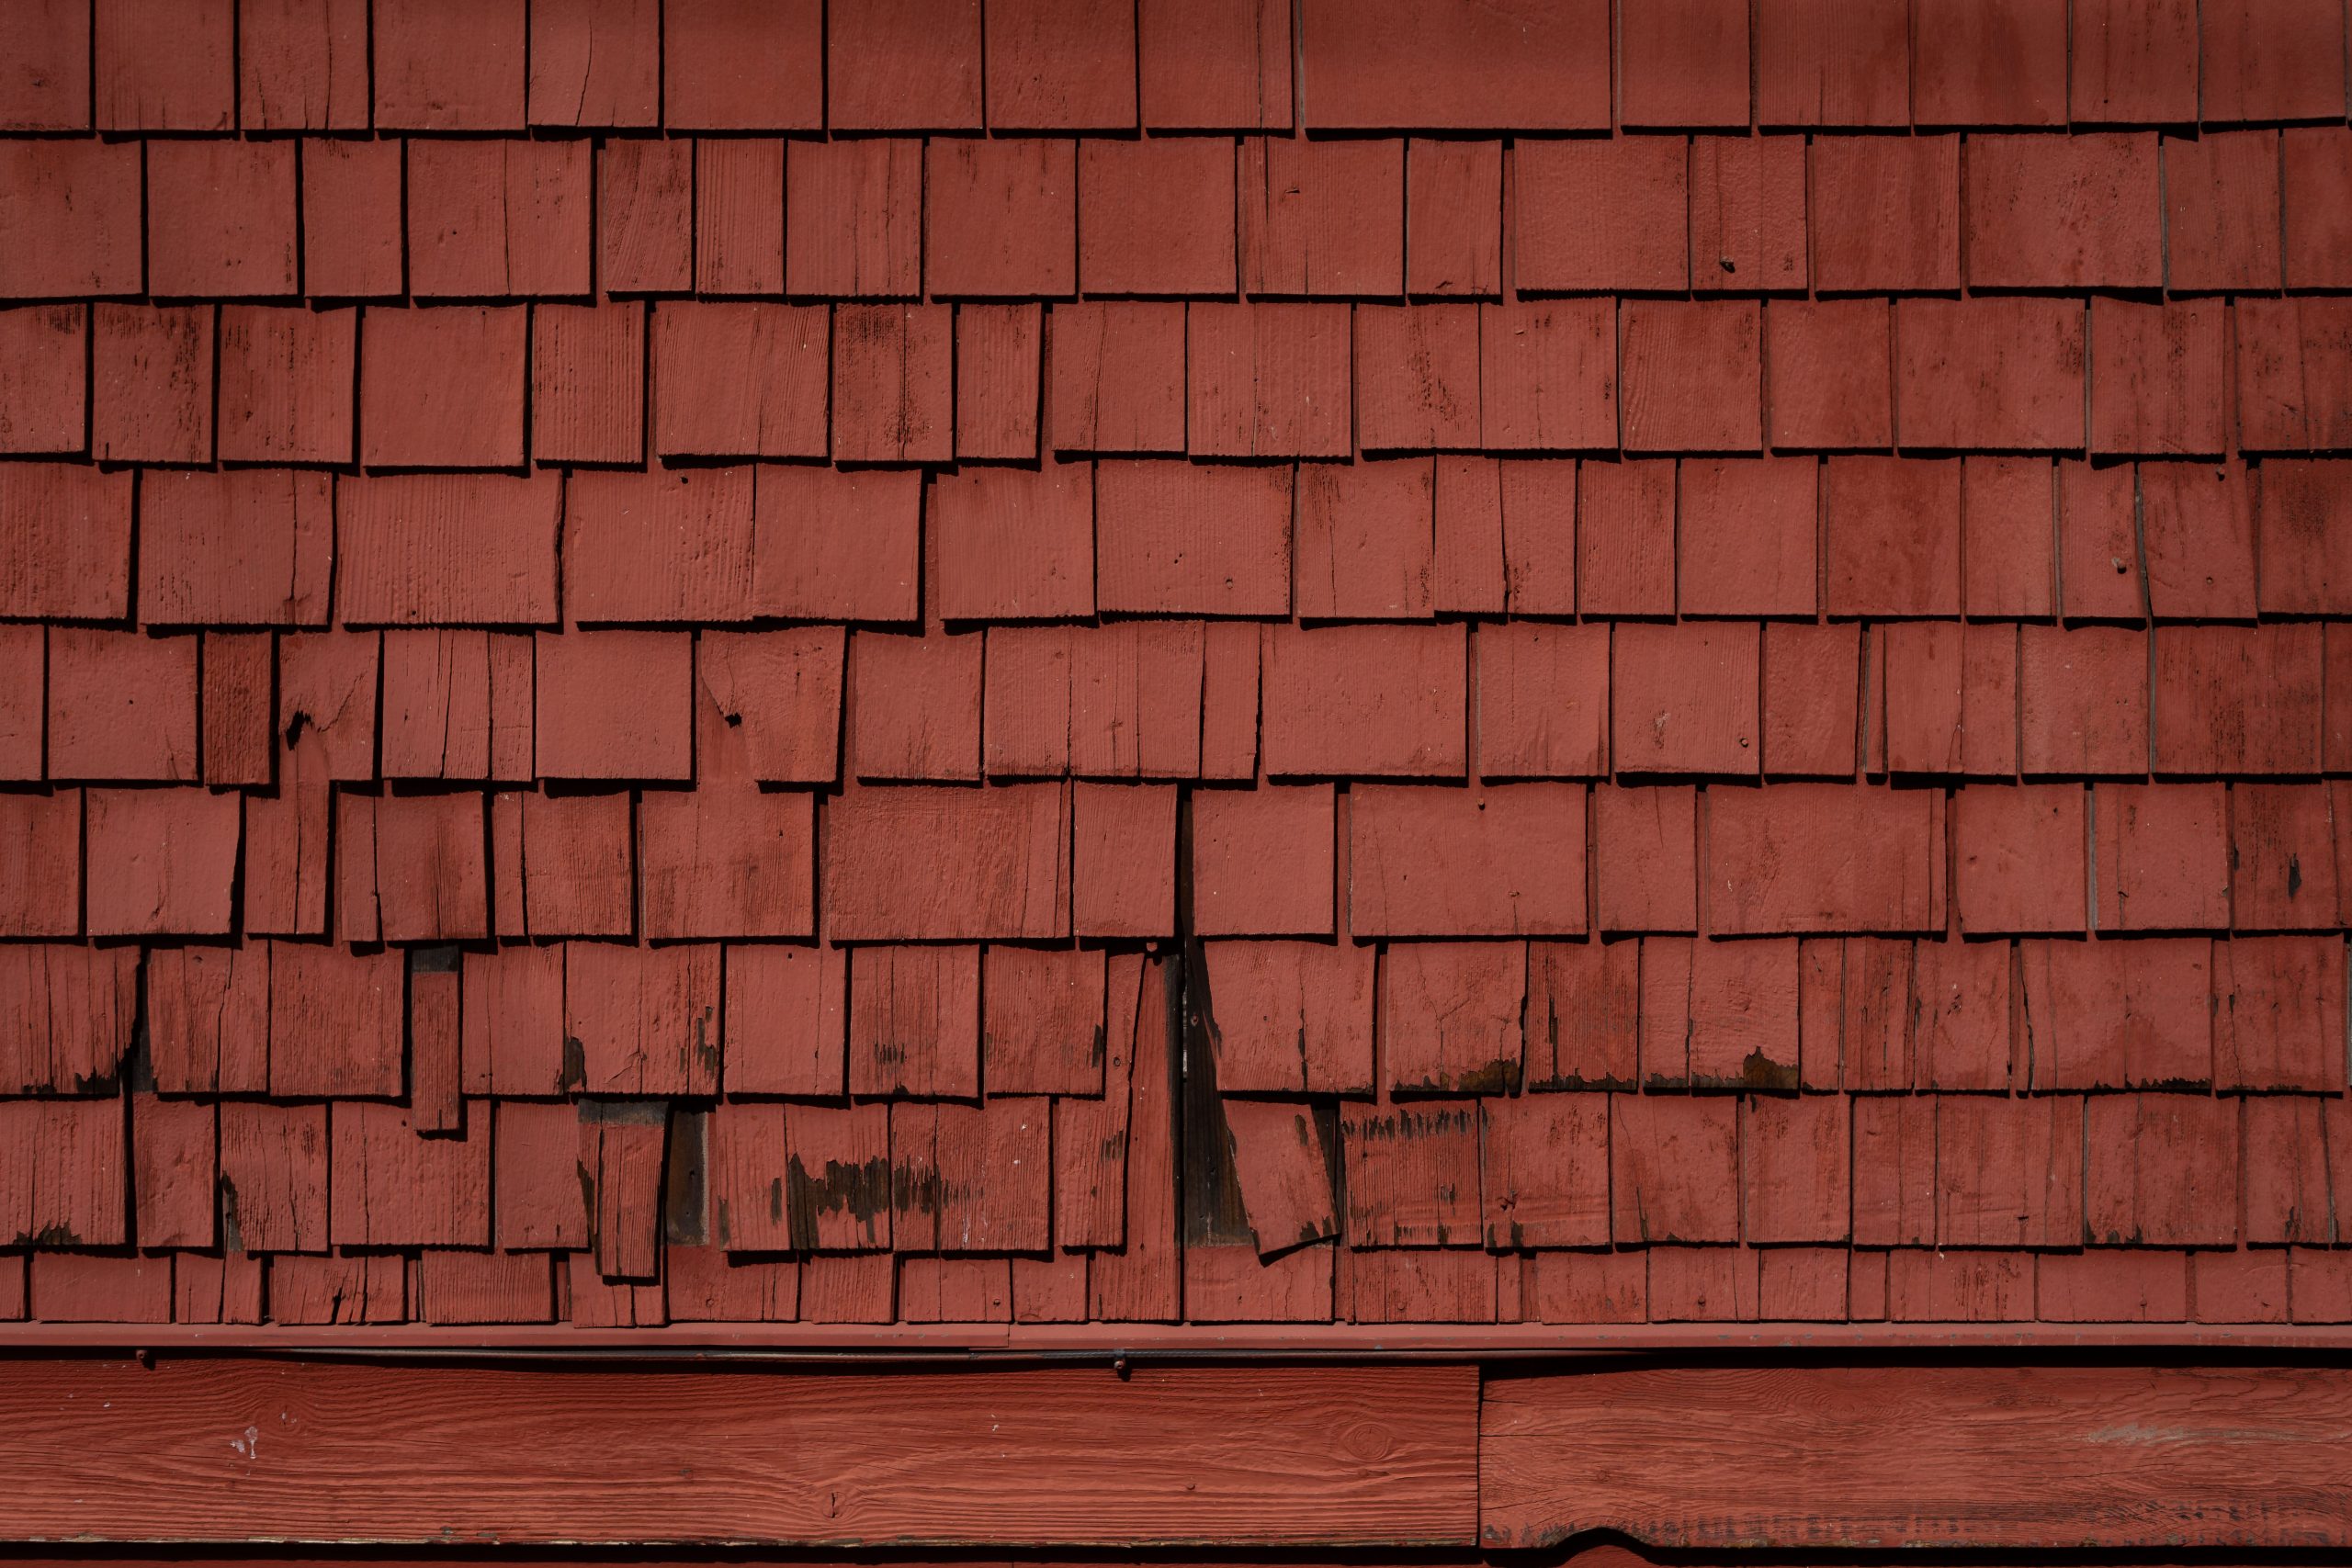
Strong winds can lift shingles, break their seals, or pull them completely off the roof. Even a small gap can allow rainwater to reach the underlayment and roof decking beneath the surface. Over time, moisture can damage insulation, ceilings, and wooden framing.
From the ground, look for missing shingles, uneven rows, lifted edges, cracked sections, or exposed patches. You may also find shingle pieces scattered around the yard or near downspouts. These are signs that the roof may need closer inspection.
Hail can cause additional problems, especially on asphalt shingles. It may leave dents, cracks, or areas where protective granules have been knocked loose. Some hail damage is difficult to recognize without professional training, so avoid deciding that the roof is fine based only on its appearance from below.
A few damaged shingles may be repairable if the rest of the roof remains in good condition. However, widespread damage or repeated shingle loss may require more extensive work. Ask a roofing professional to assess the affected areas and explain whether repairs can restore proper protection.
3. Inspect Gutters, Downspouts, and Roof Edges
Gutters and downspouts help carry rainwater away from your roof and foundation. After a storm, check whether they are bent, loose, detached, or blocked by leaves and branches. Strong winds and falling debris can pull gutters away from the fascia or damage the brackets that hold them in place.
Look for pieces of shingles or unusual amounts of roofing granules in the gutters. Some granule loss is normal as asphalt shingles age, but a sudden increase after hail or strong winds may signal damage. Do not rely on granules alone to determine whether the roof needs repair.
Check the roof edges from a safe location for loose metal edging, damaged fascia boards, or visible gaps. Water can enter through these areas if protective components have shifted during the storm.
Clear small amounts of debris from gutters only when you can do so safely from the ground with suitable tools. Never lean over an edge or use an unstable ladder to reach damaged gutters. If sections are hanging loose or located high above the ground, hire a professional to inspect and repair them.
4. Examine Flashing Around Vents, Chimneys, and Skylights
Flashing is installed around roof openings and joints to keep water from entering the home. It is commonly found around chimneys, plumbing vents, skylights, and places where roof sections meet walls. Because these areas have seams and connections, they can become vulnerable during severe weather.
After a storm, look for visible flashing that appears bent, lifted, rusted, or separated from nearby surfaces. Check for missing covers on vents or damage to the seals around skylights. You may also notice pieces of metal or other roofing components on the ground.
Problems with flashing can cause leaks even when the shingles look fine. Wind-driven rain may enter through a small opening and travel along roof framing before appearing inside the house. This can make the source of a leak difficult to identify.
If you suspect flashing damage, arrange a professional inspection rather than trying to seal the area from the roof yourself. The right repair depends on the location, the type of flashing, and whether nearby roofing materials have also been damaged.
5. Check the Attic for Water and Moisture
Your attic can reveal roof damage that is not visible from outside. If the space is safely accessible, inspect it for wet insulation, dark stains on wooden framing, dripping water, and musty odors. These signs may indicate that rain has entered through damaged roofing materials or failed seals.
Look for daylight coming through unexpected gaps in the roof. Small openings around vents or roof joints can allow both light and water inside. However, do not enter an attic if the ceiling or roof structure appears unstable, there is standing water near electrical equipment, or access requires walking on unsafe surfaces.
Water may travel along rafters and other building materials before dripping onto the floor below. As a result, the wet spot you find in the attic may not be directly beneath the damaged section of the roof.
If you discover moisture, take photos from a safe position and contact a roofing professional. Wet insulation and wooden framing should be assessed and dried properly to reduce the risk of mold growth and further deterioration.
6. Look for Interior Leaks and Ceiling Damage
Not every roof leak appears in the attic. After heavy rain, inspect the ceilings, upper walls, and rooms directly below the roof. Look for brown or yellow stains, peeling paint, bubbling drywall, damp patches, or water dripping from light fixtures and ceiling seams.
Pay attention to new musty smells, too. Moisture can collect behind walls or above ceilings without creating an obvious puddle. If water has entered the home, it may damage insulation and create conditions that support mold growth.
Move furniture, electronics, and other belongings away from wet areas. Use containers to catch small drips if the surrounding area is safe, and document the damage with photos. Do not touch wet electrical fixtures, switches, or outlets. If water is near electrical equipment, keep away and contact a qualified electrician or emergency service as appropriate.
A bulging or sagging ceiling may be holding water. Keep people away from the area and contact a professional immediately. Do not puncture the ceiling or attempt to remove the water yourself.
7. Inspect Siding, Windows, and Exterior Walls
Roof storm damage can affect more than the roof itself. Wind-driven rain, flying debris, and falling branches can damage siding, window frames, doors, and exterior trim. Water entering through these areas may later be mistaken for a roof leak.
Walk around the outside of your home and look for cracked siding, loose panels, dents, broken window glass, damaged caulking, and gaps around doors. Check whether downspouts are still directing water away from the building. Also look for branches or debris that have struck exterior walls.
Pay attention to areas where the roof meets an exterior wall. Damaged flashing or siding in these locations can create openings that allow water to enter. If you find damage, photograph it and arrange repairs before the next storm when possible.
Coordinating roof repairs with needed exterior work may help improve overall weather protection. However, avoid adding unrelated projects while urgent storm damage remains unresolved. Focus first on restoring the home’s ability to keep water out and protecting any exposed materials.
8. Check for Fallen Branches and Hidden Structural Damage
Trees can cause serious roof damage during storms. A large branch may break shingles or puncture the roof, while a heavy limb resting on the surface can place extra weight on the structure. Even when the roof appears intact, the impact may have damaged the decking or framing underneath.
Look around your yard for broken branches, leaning trees, and limbs resting against the house. From the ground, check whether the roofline appears uneven or whether any section seems to have shifted. Inside the home, watch for new cracks, unusual creaking, or visible changes in ceilings and walls.
Do not attempt to remove a large branch from the roof yourself. It may be supporting other debris or placing pressure on a weakened section. Cutting it incorrectly could cause additional damage or injury.
Contact a qualified tree service for hazardous limbs and a roofing or structural professional to assess possible building damage. If the roof is sagging or a tree has struck the house, keep people away from the affected area until it has been inspected.
9. Document Damage for Repairs and Insurance Claims
Taking clear photos after a storm can help you explain the damage to contractors and your insurance company. Photograph visible problems from safe locations, including missing shingles, damaged gutters, fallen branches, broken windows, and interior water stains. Include wider shots that show where the damage is located, along with closer images of specific areas.
Write down the date of the storm, when you first noticed the damage, and any steps you took to prevent further harm. Keep receipts for emergency services, temporary coverings, water removal, and other related expenses.
Review your home insurance policy and contact your insurer if you believe the damage may be covered. Coverage depends on your policy, the cause of damage, exclusions, deductibles, and other terms. Ask whether the insurer needs to inspect the property before permanent repairs begin.
Do not delay urgent work that is needed to protect people or prevent further damage. However, document the condition first when it is safe to do so, and keep records of emergency repairs. Be cautious of contractors who pressure you to sign immediately or promise that insurance will cover every expense.
10. Decide Whether You Need a Repair or Replacement

Not all storm damage requires a full roof replacement. The right solution depends on how much of the roof is affected, the age and condition of the materials, and whether the underlying structure has been damaged.
A localized problem, such as a few missing shingles or a small section of damaged flashing, may be repaired without replacing the entire roof. If the roof is relatively new and the surrounding materials are in good condition, a targeted repair may restore its performance.
Replacement may be more practical when damage is widespread, large sections of roofing material have failed, or the roof was already near the end of its useful life. Extensive water damage to roof decking or structural components may also require more significant work.
Ask a qualified roofing contractor to explain the damage and provide a written estimate. When possible, compare at least two proposals and confirm what each includes, such as labor, materials, removal of damaged roofing, disposal, and repairs to the underlying structure.
For homes that need a new roof, material selection matters. Durable materials and proper installation can help a roof withstand local weather conditions. Homeowners planning a new build should consider quality roofing for new builds by comparing expected lifespan, wind resistance, maintenance needs, and installation requirements before choosing a product.
11. Arrange Professional Repairs and Prevent Future Problems
Once you have documented the damage and addressed immediate hazards, arrange repairs with a qualified roofing contractor. Look for relevant experience, appropriate licensing where required, and insurance coverage. Ask for a written scope of work, expected timeline, payment terms, and details about warranties.
Do not choose a contractor based on price alone. A low estimate may leave out important work, such as replacing damaged decking or repairing flashing. Make sure the contractor explains the cause of the damage and how the proposed solution will prevent water from entering again.
After repairs, establish a simple roof maintenance routine. Check for visible changes after major storms, keep gutters clear, trim overhanging branches, and address minor issues promptly. Schedule professional inspections when the roof is older or when damage is difficult to assess from the ground.
If you are also considering dark exterior remodeling ideas, treat appearance upgrades as a separate decision from urgent storm repairs. Dark siding, trim, or roofing finishes may change the look of your home, but any exterior renovation should still account for moisture protection, material compatibility, ventilation, and local climate conditions.
Conclusion
Inspecting your home after bad weather can help you spot roof damage before it develops into a larger and more expensive problem. Start by checking the property for safety hazards, then look for damaged shingles, loose gutters, flashing problems, attic moisture, interior leaks, and signs of damage to siding or structural components.
Never climb onto a wet or damaged roof to investigate. Document what you can see safely, protect your belongings, and contact qualified professionals when you find signs of a leak or structural problem. If you plan to file an insurance claim, keep photos, receipts, and repair records, and review your policy’s requirements.
A careful inspection and prompt response can reduce further damage and help you decide whether a targeted repair or full replacement is needed. Regular maintenance after repairs will also help you prepare your home for the next storm.