What Does Roof Installation Look like With Shingles?
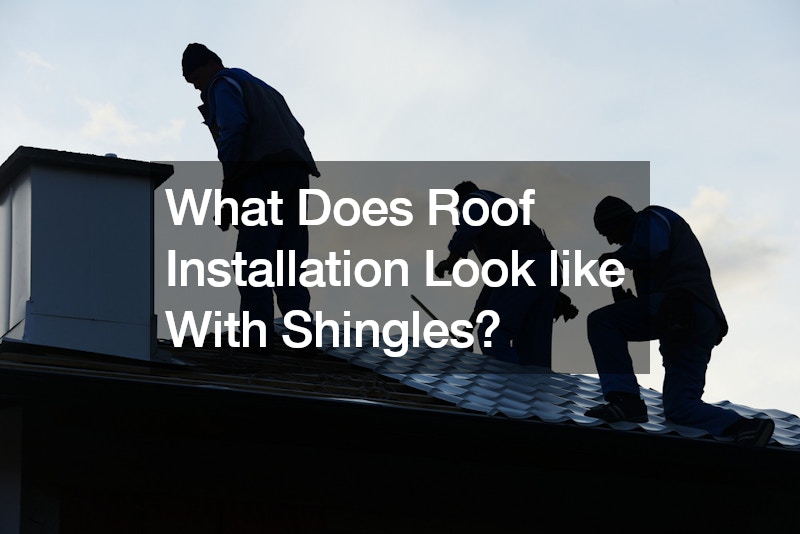
Roof installation with shingles typically involves several key steps to ensure durability and weather resistance. Initially, the roof decking, often made of plywood or oriented strand board (OSB), is prepared and inspected for any damage or irregularities. Next, a waterproof underlayment is applied over the decking to provide an additional layer of protection against moisture.
Following the underlayment, starter strips are installed along the roof’s eaves to provide a secure base for the first row of shingles. Then, the shingles are laid starting from the bottom edge of the roof and working upward in overlapping rows.
Each row of shingles is secured using nails or staples, with proper spacing and alignment to ensure a tight seal against wind and water.
As the shingles are installed, special attention is paid to areas such as valleys, ridges, and roof penetrations, where flashing and additional layers of underlayment may be needed to prevent water infiltration. Ventilation components, such as ridge vents or roof vents, are also installed to promote airflow and prevent moisture buildup in the attic space.
Finally, the installation is completed with the application of ridge caps along the roof’s peak to provide a finished look and further enhance weather protection. Throughout the installation process, careful attention is paid to quality craftsmanship and adherence to manufacturer guidelines to ensure the longevity and performance of the roofing system.
Overall, shingle installation involves meticulous planning, proper preparation, and skilled labor to create a durable and attractive residential or commercial roofing system that protects the building from the elements.
