A Checklist for Your Roofing Before and After Facing Damages
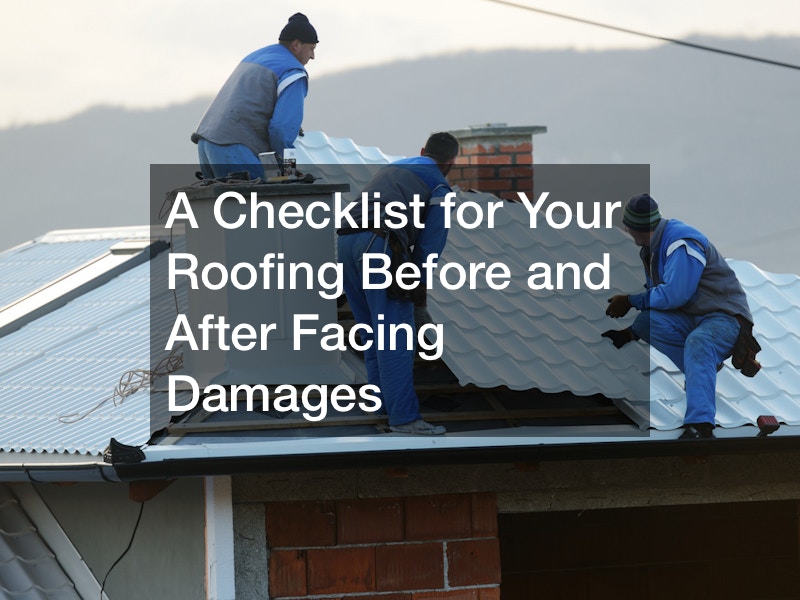
You must fix your home as soon as possible, whether you’ve just experienced a natural disaster or another kind of trouble. This checklist for roofing before and after damages will help you understand the steps you must take to repair everything and possibly protect the structure from the same issues later. Let’s discover more.
1. Research Different Home Restoration Professionals
The first item on this checklist of roofing before and after facing damages is to check the restoration professionals in your area. They should be able to handle any incident that happens to your structure. You also want solutions regarding restorations, not bad news, where the only alternative is to replace the entire roof without question. That’s why it’s better to investigate as many businesses as possible and decide which will handle the project.
Restoration can mean many things, from fixing holes created by fallen tree branches to fire repair, so you must ask all professionals what they think. Each of them will tell you what they’d do during the renovation process. Follow your instincts even if you know little about construction. The most knowledgeable and confident person is often the most experienced.
However, it’s best not to go into this matter completely blind, so here’s something you should know about roofing restoration. It’s much more than repair work. Aside from renovating the problems caused by the incident, a proper roof restoration also upgrades the materials of the entire surface. It’s an eco-friendly and cheaper alternative to changing the entire roof.
2. Inquire if You Need to Rent Your Dumpster for Waste

Any construction project will produce waste, even if you try to recycle the materials as much as possible. Therefore, you must ask the professionals you hire about the kind of waste produced by roofing before and after repairs. Is it necessary to call a dumpster rental company? In many cases, the roofing business will have its waste removal protocol. Still, it’s better to inquire about it so you don’t get caught with garbage in your yard and possible fines from the city.
To that end, it’s also a good idea to investigate the dumpster rental businesses in your town. You should also know the benefits of getting bigger or smaller bins. It wouldn’t make sense to get the biggest dumpster in some cases. Therefore, work with the roofing professionals to see which size is more convenient. Understanding what you can’t dump on such a rental is also critical. All cities have their own waste disposal laws, but there are a few general rules.
Check the guidelines of the rental company to see what they don’t like disposed of as well. Flammable and dangerous materials shouldn’t be discarded in these dumpsters. The business may prohibit gravel mixed with other construction materials. There are also weight limits for all bins. Be sure to read all the fine print in the contracts to avoid losing money and causing issues for the company.
3. Ask About Replacing Your Windows
While this checklist is focused on roofing before and after facing damage, it’s smart to get a professional’s opinion on restoring or replacing other parts of your house. Natural disasters or incidents that ruined your roof may have destroyed a lot. On the other hand, you may discover that newer materials are much more resistant, so it’s a good time to upgrade.
Call window replacement services immediately if your windows are ruined. The structures that protect your home interior have to be solid. If a storm comes, you don’t want the glass from a window to fly inside. However, don’t just hire anyone unquestioningly. You need to be smart and probe before making a final decision. For example, ask the window replacement business if they give free estimates. Inquire about their labor costs and how long they’ve been operating in town.
Can they offer several references for their work? Do they have great reviews online? Afterward, move to more technical questions, like what window frames are more durable, eco-friendly, and cost-effective. Ask about double-paned glass that will reduce your energy bills. Also, ask a professional about alternatives to replacement. Can you salvage any part of your current window, even if they’ve been affected?
4. Discuss if You Can Recycle Metal Roof Waste

All homeowners have to think about recycling as much as possible. In today’s world, going greener is the only way you’ll be able to save some money and create more sustainable homes. Hire a metal recycler or get your roofing contractor to work with one so most of the materials can be repurposed for restoration. Newer items aren’t always the best choice.
Nowadays, some parts and materials aren’t as solid as they used to be because businesses are also trying to reduce costs. What you installed on your roof 20 years ago is probably much more durable than what’s in stores today. Metal is a much more eco-friendly option but takes a big initial investment. Finding a way to reduce that price will be much better for your reconstruction budget.
This checklist of roofing before and after facing damage is just a guideline to get you started because many homeowners sit in awe after a situation has ruined part of their property. Tip: copper is recycled in the construction business often. According to Metal Roofing Magazine, it also has the highest scrap value in the market. Being informed about this matter will help you make the best decision.
5. Determine if Your Garage Roof and Door Require Repairs
Aside from fixing your regular home’s roof, you have to check the damage to the garage. Whether there was a storm, fire, or another incident, it may have affected different parts of your house, and you can’t ignore anything. Unfortunately, garage roof repair may come hand-in-hand with garage door repair. It’s also your chance to update something you may have ignored for a while.
A regular roof can last between 20 and 25 years, but it’ll eventually start showing some signs of damage, such as shingles curling, water problems, and leaks. This happens in the garage, but it’s often hard to tell because people don’t spend much time there. Fortunately, this checklist of roofing before and after facing damage is here to remind you of everything you normally overlook.
Conversely, spending money on the garage when unnecessary may not be in your best interest. Ask the roofing contractors to inspect that part and get their recommendations. Sometimes, a simple fix will do the trick, or the damage isn’t as extensive as you think and can wait. It’s just a precaution, which is important if your cars and other stored items are in the garage.
6. Decide if You Need a New Garage Door

Once you determine the kind of damage the incident caused on the garage roof, it would be smart to check if the garage door could also use some repairs or a complete replacement. Take advantage of this opportunity. A local garage door company should be able to help you, but you must figure out if you need to replace the door.
If the structural integrity has been damaged beyond recognition, obviously, you’ll have to replace it. These problems may include warping, rusting, holes, and everything preventing it from properly closing and opening. However, some issues aren’t as evident, especially if it’s functioning as usual. Pay attention to any sounds the mechanism makes. Also, check that the remote control works correctly from the same distance.
See if the door is vibrating or shaking as it opens. Sometimes, you don’t need to replace the door but the mechanism. It may also need some cleaning because the rollers can accumulate dirt and debris. Don’t ignore this because the door could break in the future and hurt your family or your vehicles.
7. Speak About Electrical Concerns Near Your Roof
Let’s get back to the main part of this checklist of roofing before and after facing damage: repairing the upper main structure of your home. The next step in this guideline is to check with electrical services for any issues the incident could’ve caused. Most people ignore the electrical implications of working on roofs and ceilings. Most parts of a house have wiring, particularly for lighting and outlets.
Roofing professionals must know and work to fix potential dangers. Additionally, they’ll probably be using electrical tools and possibly working near power lines during the restoration, so electrocution is a concern. Other things to consider include not overloading outlets, using approved, insulated equipment, not depending too heavily on extension cords, and never using electrical tools when they’re wet.
It’s also better not to use appliances at home when people are working on the roof, but ultimately, ask the contractors for their suggestions. Open communication with the people working in your house is the best way to restore, repair, and replace things correctly. It’s also how you’ll avoid most problems.
8. Choose New Awnings

Next, it’s time to consider some of the things that suffered collateral damage due to the incident on the roof. For example, awnings often get ruined during storms and due to falling branches. If you’re restoring the roofing before and after facing issues, it’s smart to add a few new touches once the repairs are finished. However, before you choose an awning, consider its purpose.
For example, how much space do you want it to cover? Will the weather in your area ruin a new one again? Is it worth the money? Answering these questions will help you decide if you need an awning. Once you choose, you can start browsing for the perfect model for several areas of the house’s exterior.
Afterward, call awning installers. During your purchase, consider the style of your home and how much time you spend outside. Some people prefer to build porches with a solid roof instead of depending on awnings. Unfortunately, an awning has to be replaced more frequently than a roof, so think about your options and choose what’s best.
9. Consider Installing a Screen for Your Porch
The porch or its roofing may have been ruined during the incident. That has to be fixed as well. You may have lost some of the things you kept on the porch, too, so consider adding a screen. Screened porches are better protected, not just from bugs and leaves. When you add that safety layer, you create a new space in your home, which can be just as useful and relaxing as any other room.
You’ll be able to let your hair down and leave the kids playing outside without hovering over them. However, it’s important to consider how much it’ll cost. You’re already budgeting for several repairs for roofing before and after facing damages, so keeping your expenses focused on the right parts is essential. According to Bob Vila, 200 square feet of materials for this project should cost approximately $450.
However, that price doesn’t account for labor. A professional will charge between $300 and $600. Also, consider the screen panels’ size and style before buying anything. Smaller panels are easier to repair but can obstruct the garden’s view. Large ones are better for viewing the outdoors, but you’ll have to spend more if there are any issues.
10. Regularly Assess Your Roofing Status
The last item on this checklist for roofing before and after facing damages is to remind you to check your upper structure periodically. It’s easy to ignore your roof when there are no visible issues. However, assessing it regularly is better. Sometimes, a roof gets ruined during a storm or another incident because of underlying problems.
You should always inspect the entire house as soon as you buy it and during your time living there. The contractors will tell you an estimate of how old the roof maybe if the previous owners don’t know. Luxury home builders will recommend getting inspections from professionals who must check the materials, soffits, fascia, drip edges, roof penetrations, flashing, etc.
Conversely, it’s also good for homeowners to know what to watch out for and call for help when necessary. Pay close attention to the shingles or anything odd with your ceiling. Water damage is a huge problem, so ensure your gutters work properly. You don’t want any liquid to pool and be absorbed into the roofing materials.
Now that you understand the steps you must take on this checklist of roofing before and after damages, it’s time to start making calls, getting estimates, and finding the best people for the restoration. Don’t leave your roof ruined. Take action today!