How to Repair a Leaking Flat Roof: DIY and Professional Tips
A leaking flat roof can cause significant damage to your home if left unaddressed. Water infiltration can ruin ceilings, walls, insulation, and even the structural integrity of your roof. Understanding how to identify leaks, choose proper repair methods, and maintain your roof is crucial for homeowners.
In this guide, we’ll walk you through causes, safety precautions, repair methods, and long-term maintenance tips to keep your flat roof in excellent condition.
Common Causes of Flat Roof Leaks

Before repairing a leak, it’s important to understand what causes it. Flat roofs are prone to water accumulation, which can exacerbate material wear. Common causes include:
- Ponding Water: Standing water can seep into weak spots.
- Damaged Seams: Seams between roofing materials, like EPDM or modified bitumen, can separate over time.
- Cracks or Punctures: Falling debris, foot traffic, or aging material may create cracks.
- Flashing Failures: Flashing around vents, skylights, and chimneys can deteriorate or become loose.
- Clogged Drains or Gutters: Blockages prevent proper drainage, leading to water pooling.
Recognizing the source of the leak ensures you choose the most effective repair method.
Safety Precautions
Repairing a flat roof involves working at height and handling roofing materials. Follow these safety tips:
- Use a stable ladder and ensure it is on level ground.
- Wear non-slip shoes and gloves for protection.
- Avoid repairing the roof during rain or strong winds.
- Use caution with roofing adhesives or sealants; many emit strong fumes.
- If the roof is unstable or damage is extensive, hire a professional.
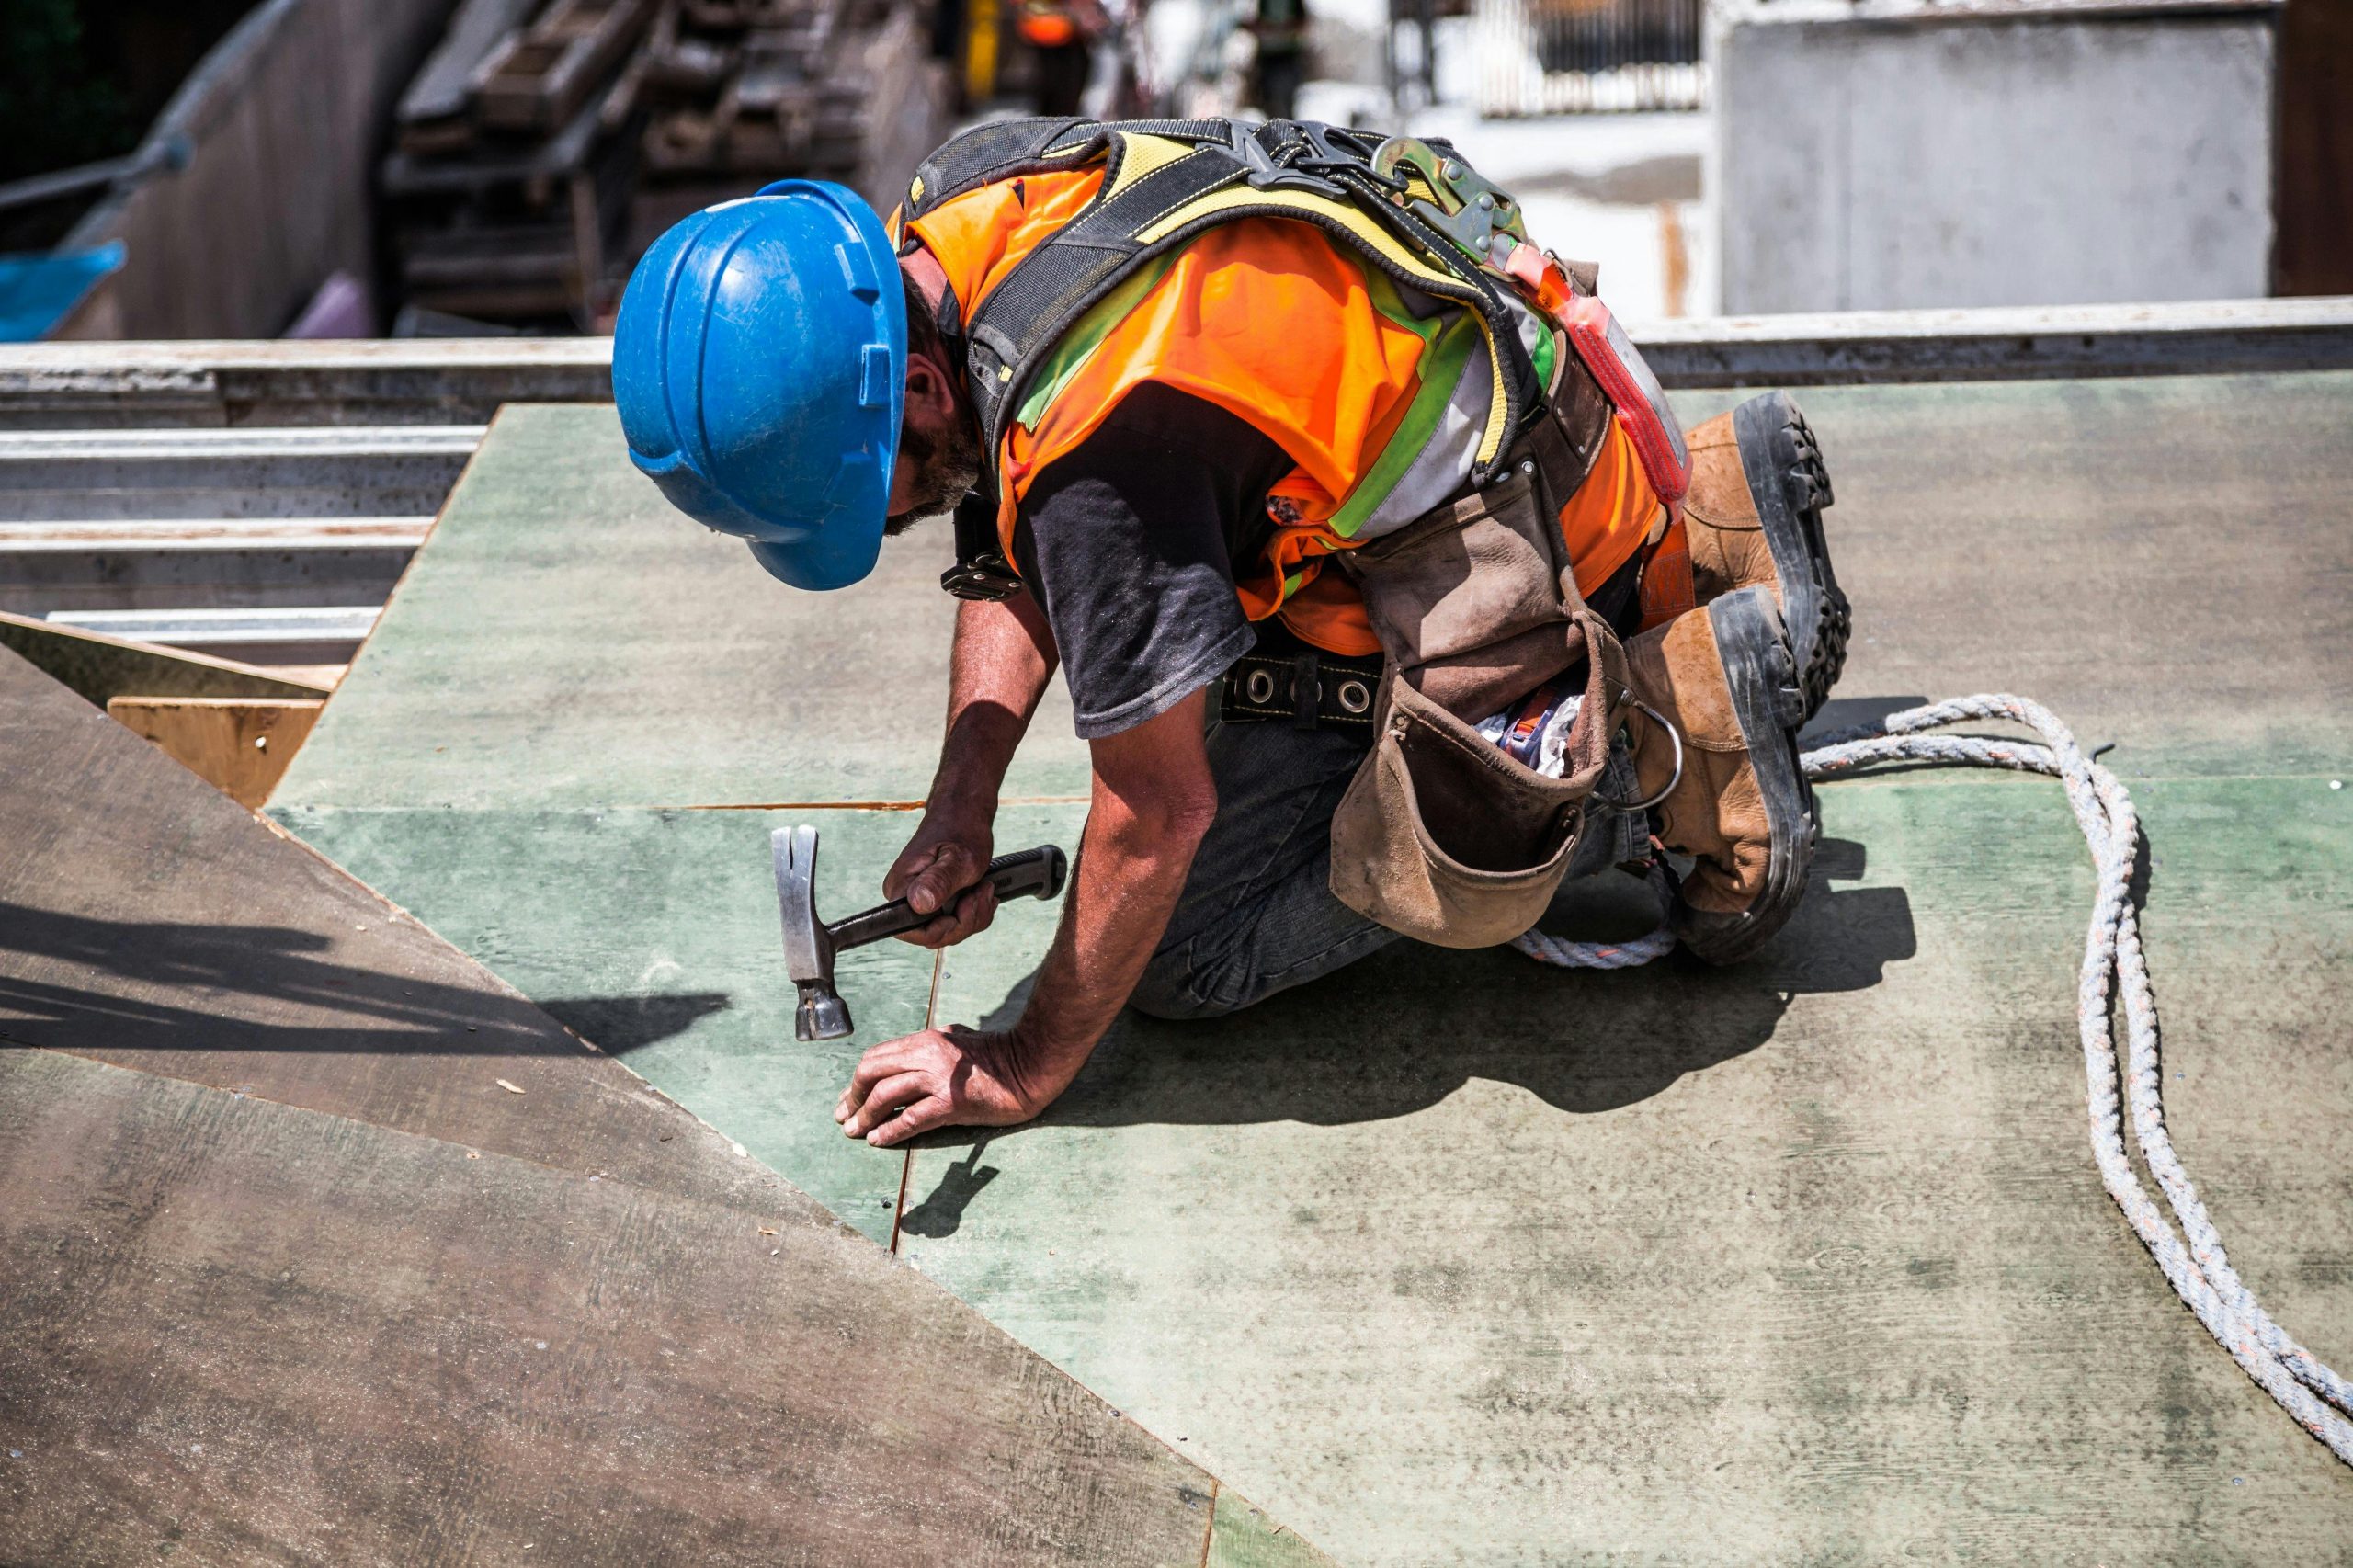
Step-by-Step Flat Roof Leak Repair
Step 1: Locate the Leak
- Inspect your roof on a dry, sunny day.
- Check for water stains, mold, or discolored areas on the ceiling or walls inside.
- Walk the roof carefully, looking for cracks, punctures, or blisters.
- Inspect flashing and seams, as most leaks occur in these areas.
Step 2: Clean the Area
- Remove debris, dirt, and loose roofing material.
- Use a broom or brush to sweep the surface.
- Ensure the area is dry before applying repair materials.
Step 3: Select Repair Materials
Your repair method depends on the type of flat roof materials you have:
- EPDM Rubber: Use an EPDM patch and compatible adhesive.
- Modified Bitumen: Apply roofing cement and a bitumen patch.
- TPO or PVC: Use a compatible patch and heat weld or adhesive.
- Built-Up Roofing (BUR): Use roofing tar and felt for small repairs.
Tip: Understanding flat roof materials is essential for selecting compatible repair solutions. Using the wrong patching material can make leaks worse.
Step 4: Apply the Patch
- Cut a patch slightly larger than the damaged area.
- Apply roofing adhesive or cement to the underside of the patch and the roof surface.
- Press the patch firmly, smoothing out bubbles or wrinkles.
- Seal the edges thoroughly to prevent water intrusion.
Step 5: Repair Flashing or Seams
- Apply roofing sealant to flashing joints, vents, or skylight edges.
- For loose or damaged flashing, replace with new flashing and secure with roofing screws and sealant.
Step 6: Allow Curing Time
- Follow manufacturer instructions for curing time of adhesives or sealants.
- Avoid walking on the repaired area until it is fully cured.
Step 7: Test for Leaks
- After curing, spray the repaired area with a hose to simulate rain.
- Check the interior for signs of water intrusion.
- Repeat patching if necessary.
Temporary vs. Permanent Repairs
- Temporary Repairs: Roofing tape, sealant, or small patches may hold water back temporarily.
- Permanent Repairs: Replacing damaged roofing membrane or flashing ensures long-term protection.
- Temporary fixes are useful in emergencies but should not replace proper repair.
Maintenance Tips for Preventing Future Leaks

Regular maintenance is key to keeping a flat roof in optimal condition. Proactive care not only prevents leaks but also extends the life of your roofing materials, saving on costly repairs or premature replacement. Here’s how to maintain your flat roof effectively:
1. Inspect the Roof Frequently
- Biannual Inspections: Conduct a thorough check at least twice a year—preferably in spring and fall.
- After Major Storms: Inspect immediately following heavy rain, hail, or windstorms to identify damage early.
- Look for Signs of Wear: Check for cracks, blisters, pooling water, or loose patches in the roofing material.
2. Clean Debris and Ensure Proper Drainage
- Remove Leaves and Branches: Debris can trap water and accelerate material deterioration.
- Check Drains and Gutters: Ensure that all drains, scuppers, and gutters are free of blockages so water flows away from the roof.
- Prevent Ponding Water: Even shallow pools can cause long-term damage; ensure the roof is properly sloped or consider installing additional drains if needed.
3. Inspect Flashing, Seams, and Roof Penetrations
- Flashing Around Roof Penetrations: Examine flashing around vents, skylights, chimneys, and HVAC units. Secure or replace any loose or deteriorated flashing.
- Seams and Joints: Look for gaps or cracks where roofing materials meet. These areas are prone to leaks and may require resealing.
- Check for Rust or Corrosion: On metal flashings or fasteners, remove rust and apply protective coatings as necessary.
4. Schedule Professional Inspections
- Every 3–5 Years: Even if no visible damage exists, a professional roofing contractor can identify hidden issues before they become serious.
- Certification: Professionals can provide warranties or certification that your roof meets local building codes and is in good condition.
- Advanced Equipment: Contractors often use infrared cameras or moisture meters to detect leaks not visible to the naked eye.
5. Apply Protective Coatings
- Reflective Roof Coatings: A reflective coating helps protect the roof from UV damage, reduces heat absorption, and can prevent cracking or warping.
- Waterproof Sealants: Periodically apply sealants to seams, edges, and vulnerable spots to create an additional water-resistant barrier.
- Extend Lifespan: Coatings can add 5–10 years to your flat roof’s lifespan when applied as part of regular maintenance.
6. Maintain a Maintenance Log
- Document Inspections and Repairs: Record dates, observations, and any repairs performed.
- Track Recurring Issues: A log helps identify patterns, such as areas prone to leaks after heavy rainfall.
- Plan Budgeting: Maintaining records makes it easier to plan for future maintenance, repairs, or eventual replacement.
7. Seasonal Considerations
- Winter: Remove snow promptly to prevent excess weight and water infiltration during thawing.
- Spring: Inspect for ice damage, cracks, or roof punctures caused by freeze-thaw cycles.
- Summer: Check for UV damage and clean dirt or debris that may accumulate in hot months.
- Fall: Clear leaves and prepare drains for winter precipitation.
Tip: Combining regular inspections, proactive cleaning, and protective treatments creates a comprehensive maintenance routine that minimizes the risk of leaks and maximizes the lifespan of your flat roof.
When to Call a Professional
Some situations require professional expertise:
- Multiple leaks or extensive damage.
- Sagging or structural weakness.
- Flat roofs older than 20 years.
- Replacing large sections of roofing material.
A professional can provide durable, long-lasting solutions and ensure proper installation of compatible materials.
Additional Tips for DIY Repairs
DIY repairs can be cost-effective, but flat roofs are sensitive surfaces, and proper technique is crucial to avoid worsening problems. Follow these guidelines for safe and effective repairs:
1. Follow Manufacturer Instructions
- Read Product Labels Carefully: Adhesives, patching materials, and roof coatings often have specific curing times, application temperatures, and layering instructions.
- Avoid Shortcutting: Applying products incorrectly can reduce their effectiveness, lead to leaks, or void warranties.
- Check Expiration Dates: Roofing products may lose effectiveness if expired, so always confirm the date before use.
2. Keep a Small Roof Repair Kit
- Essential Tools and Materials: Include roofing cement, patch material, a trowel or brush, gloves, and a small scraper.
- Emergency Fixes: Having a kit on hand allows you to respond quickly to minor leaks or damage before they worsen.
- Portable and Organized: Store the kit in a waterproof container near your home for easy access during emergencies.
3. Document Repairs and Maintenance
- Track Every Repair: Note the date, location, materials used, and any follow-up needed.
- Monitor Recurring Issues: Documentation helps identify problem areas that may need professional attention.
- Plan Future Maintenance: A clear record assists in scheduling inspections and budgeting for upcoming repairs or replacement.
4. Avoid Walking on Wet or Newly Repaired Surfaces
- Allow Proper Curing Time: Newly applied adhesives, patches, or coatings need time to set; walking on them too soon can break the seal.
- Use Caution on Slopes: Flat roofs may appear level, but even slight slopes can be slippery, especially after rain.
- Use Protective Mats or Boards: If access is necessary, lay down protective boards to distribute weight and prevent punctures or cracks.
5. Safety Considerations
- Wear Appropriate Gear: Gloves, safety glasses, and non-slip shoes reduce the risk of injury.
- Work with a Partner: Having someone assist improves safety, especially when handling heavy materials or climbing ladders.
- Avoid Repairs During Extreme Weather: Rain, ice, or high heat can compromise both safety and the quality of repairs.
6. Know When to Call a Professional
- Persistent Leaks: If DIY fixes don’t stop leaks, a licensed contractor may need to evaluate structural damage or replace materials.
- Major Structural Damage: Sagging, severe water pooling, or compromised insulation requires professional assessment.
- Complex Systems: Flat roofs with built-in drains, multiple layers, or rooftop HVAC units often require advanced techniques beyond DIY scope.
Tip: By combining careful DIY repairs with regular maintenance, you can extend the life of your flat roof, minimize leaks, and avoid costly full replacements.
Conclusion
Repairing a leaking flat roof requires identifying the source, choosing the right materials, and following proper installation techniques. Regular maintenance and inspections help prevent leaks and prolong the roof’s lifespan. Whether using DIY methods for minor leaks or hiring a professional for major repairs, understanding flat roof materials and proper repair procedures ensures your home remains protected from water damage.
By taking proactive measures, homeowners can enjoy a durable, leak-free flat roof and avoid costly interior damage.